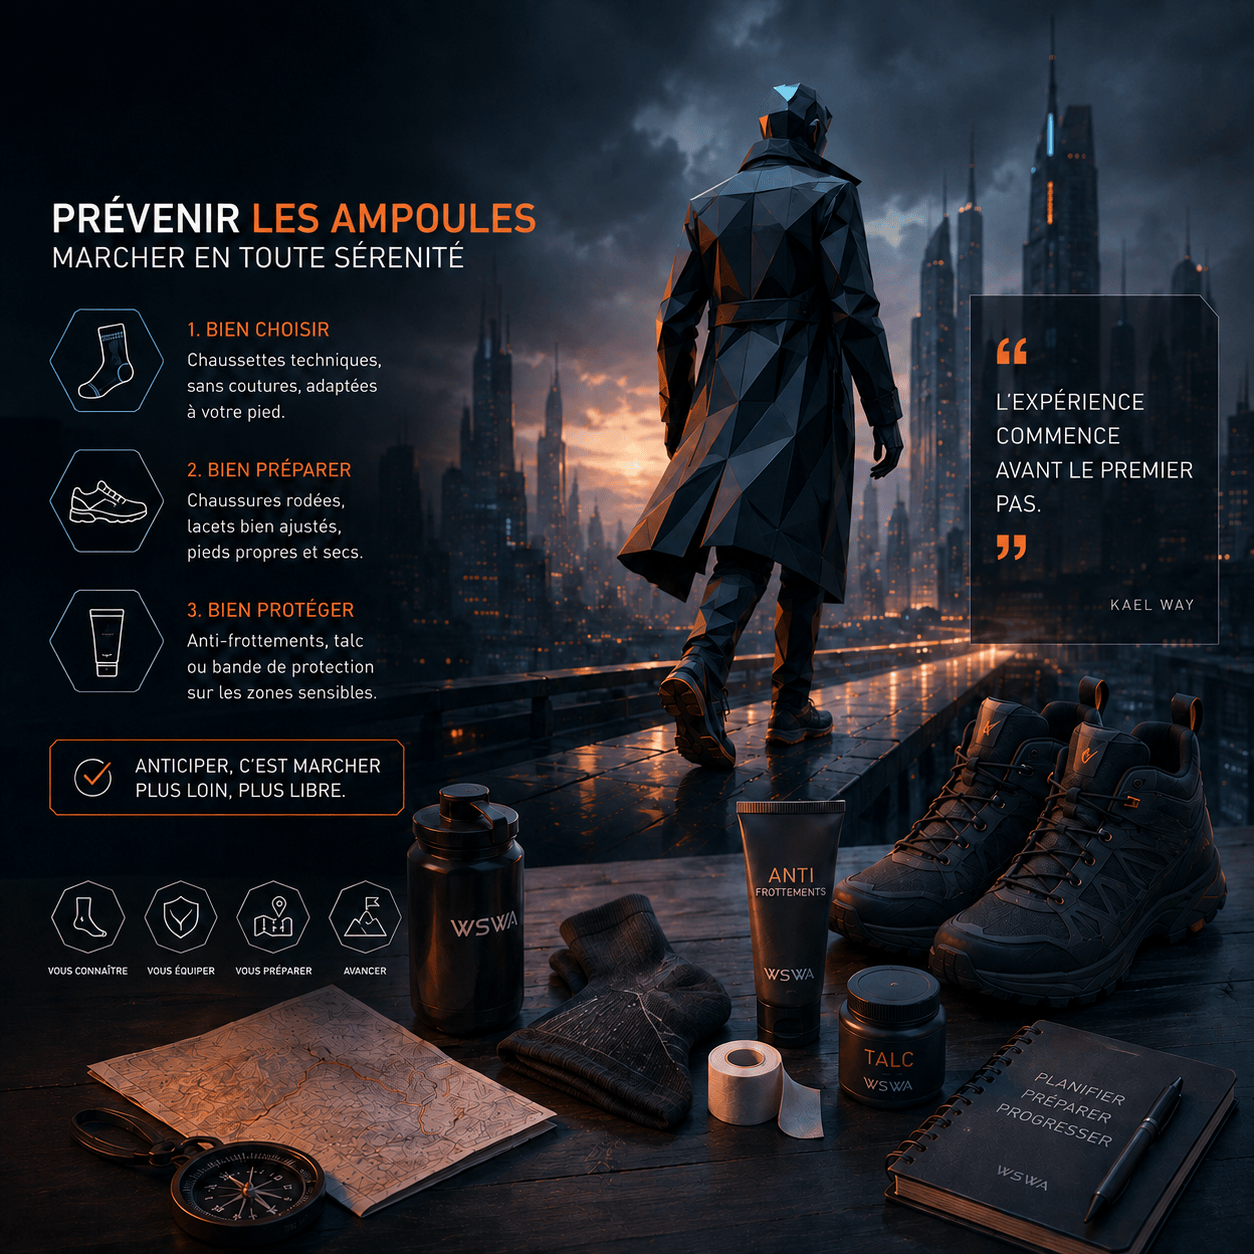
A blister can seem trivial when you are at home. After twenty kilometres, it can change the way you walk, trigger pain elsewhere and turn the end of a long walk into a struggle.
The visible blister is only the final stage. The problem often starts several kilometres earlier, with heat, tingling or a very specific rubbing sensation. That is the moment to act.
Blister prevention does not depend on a miracle product. It rests on three things: equipment you have already tested, feet that stay as dry as possible and a quick response to the first warning sign.
1. Why do blisters form?
A friction blister develops when repeated rubbing creates shear forces within the upper layers of the skin. Those layers separate, and the space fills with clear fluid. The fluid-filled pocket temporarily protects the tissue underneath.
The risk increases with:
- shoes that are too tight and compress specific areas;
- shoes that are too loose and allow the foot to slide;
- a seam, a sock crease or a small stone inside the shoe;
- damp feet caused by sweat or rain;
- heat;
- the same movement repeated for several hours;
- unfamiliar terrain, hills or a heavier pack.
A blister is not simply a sign of “fragile skin”. It results from the interaction between your foot, your sock, your shoe and the duration of the walk.
2. Shoes should fit well — and already be tested
A long walk is not the right time to wear a new pair of shoes for the first time.
Your shoes should feel comfortable, suit the shape of your feet and provide enough stability to limit excessive movement. They should be neither too tight nor too loose. The heel should stay secure, while the toes need enough space, especially once the feet begin to swell after several hours.
Before a long walk:
- wear the shoes on several progressively longer outings;
- test them with the socks you plan to use;
- run your hand around the inside;
- check for raised seams, a shifted insole or anything likely to rub;
- test the lacing on both climbs and descents;
- avoid changing your shoes, socks and insoles all at once.
The right equipment is not the pair that looked perfect in the shop. It is the pair that has already worked on your feet.
3. Socks: control moisture and prevent creases
Medical guidance generally favours sports socks designed to manage moisture. Cotton tends to hold sweat, so technical fibres are usually more suitable for a long walk.
A good walking sock should:
- stay in place;
- avoid forming creases;
- protect common friction areas;
- move moisture away from the skin as effectively as possible;
- fit comfortably inside the shoe without making it too tight.
Some walkers prefer a single sock. Others use two thin layers so that more of the rubbing occurs between the fabrics rather than against the skin. This approach is not suitable for everyone: it can take up too much room inside the shoe. Test it before the event.
Carry at least one spare pair on a long walk. Change socks as soon as possible if they become soaked by rain or heavily saturated with sweat.
4. Prepare known problem areas
You probably already know your vulnerable spots: the back of the heel, the side of the big toe, the ball of the foot or the space between two toes.
Before setting off, you can protect an area that regularly causes problems with:
- skin-safe adhesive tape;
- a soft dressing;
- padding cut to the right shape;
- a thin layer of an anti-chafing product you have already tested.
Dermatology guidance also mentions powder or petroleum jelly as possible ways to reduce friction. Results vary between people and conditions. A lubricant may wear off over time, while some antiperspirants can irritate the skin.
The rule is simple: do not test a new product on the day of an important walk.
5. Use a “hot spot” protocol
A hot spot is the best warning your foot can give you. It may feel like:
- localised warmth;
- tingling;
- a mild burning sensation;
- redness;
- early pain;
- a sock moving or folding inside the shoe.
Do not assume it will disappear. Stop walking.
The five-step WSWA hot spot protocol:
- Remove the shoe and sock.
- Dry the foot and inspect the skin.
- Remove any crease, grit or source of irritation.
- Protect the area with tape or a dressing.
- Adjust the lacing or change socks before continuing.
Five minutes “lost” at kilometre 10 can save the next twenty.
6. What should you do if a blister has already formed?
If a small blister is still intact, the safest general approach is not to burst it. The skin covering it acts as a natural barrier against germs.
You can:
- clean the area gently;
- cover it with a soft dressing;
- place ring-shaped padding around the blister to reduce direct pressure;
- avoid the shoe or movement that caused the friction whenever possible.
If the blister has opened:
- wash your hands;
- clean the area gently with soap and water;
- allow the fluid to drain;
- do not remove the skin covering the wound;
- apply a clean dressing.
A very large or painful blister, or one that prevents you from walking, may need to be drained under clean conditions. It is safer to ask a pharmacist, doctor or trained professional for advice than to improvise beside the trail.
7. When should you seek medical advice?
Seek prompt medical advice if:
- the area becomes hot and very red;
- the redness is spreading;
- the blister contains yellow or green pus;
- pain or swelling is increasing;
- several blisters appear without an obvious cause;
- the same blister keeps returning;
- you have a fever or feel unwell.
Take extra care if you have diabetes, poor circulation, neuropathy or a condition or treatment that weakens the immune system. In these situations, even a small foot wound can become more serious and should not be treated as a minor hiking inconvenience.
The essential anti-blister kit
For a long walk, carry:
- a spare pair of socks;
- a few pre-cut strips of adhesive tape;
- soft or hydrocolloid blister dressings;
- a small piece of padding that can be cut into a ring;
- something to clean and dry the skin;
- a small bag for used dressings and other waste;
- your usual anti-chafing product, but only if you have already tested it.
Conclusion
Blisters cannot always be prevented, but they are rarely completely unpredictable.
Tested footwear, suitable socks and a small foot-care kit form your first line of defence. The second line matters even more: listen to the first hot spot and stop immediately.
On a long-distance walk, ignoring an early warning is not toughness. It usually means postponing a problem until it is harder to manage.
Which area causes you the most trouble on a long walk: your heel, toes or forefoot? Identify it before your next outing and prepare the right protection in advance.
For a walking streak, the goal is not to finish one day by damaging the next. Looking after your feet also protects the continuity of your streak.
Sources
- Assurance Maladie — Éviter les ampoules et les cloques
- Assurance Maladie — Ampoules : que faire pour les soigner et quand consulter ?
- American Academy of Dermatology — How to prevent and treat blisters
- NHS — Blisters
- Worthing RM, Percy RL, Joslin JD. Prevention of Friction Blisters in Outdoor Pursuits: A Systematic Review. Wilderness & Environmental Medicine. 2017;28:139–149. DOI: 10.1016/j.wem.2017.03.007.
- CDC — Your Feet and Diabetes